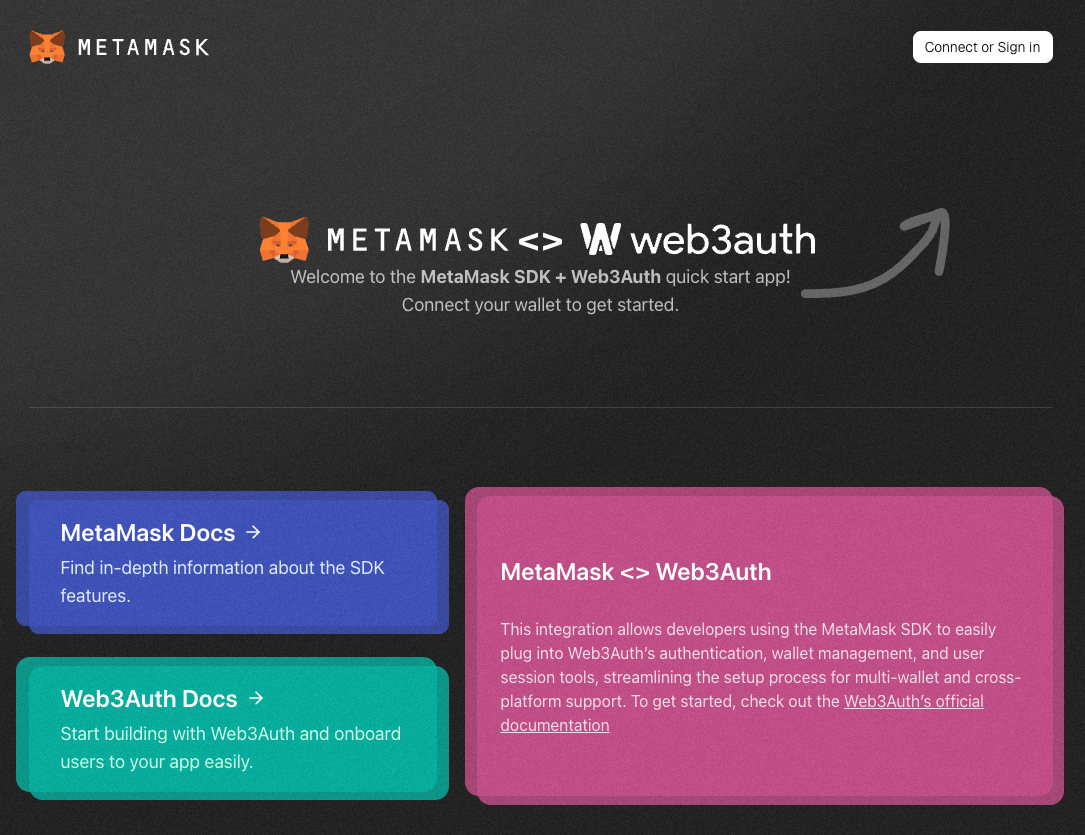
Connect to MetaMask using Web3Auth SDK
Get started with MetaMask SDK and Web3Auth SDK, enabling users to sign in with an email or social media account. You can use MetaMask SDK features directly within Web3Auth SDK. Set up the SDKs in one of the following ways:
- SDK CLI - Use the CLI to scaffold a Next.js and Web3Auth dapp.
- Quickstart template - Clone the template to set up a Next.js and Web3Auth dapp.
- Manual setup - Set up Web3Auth SDK in an existing dapp.

Prerequisites
- Node.js version 19 or later installed.
- A package manager installed. The examples in this quickstart use pnpm.
- MetaMask installed in your browser or on mobile.
- A Web3Auth Client ID.
Set up using the CLI
-
Run the CLI command, replacing
<project-name>with your project name:npx @consensys/create-web3-app <project-name> -
Select the Web3Auth Quickstart template:
? Please select the template you want to use:
  MetaMask <-> Next.js (Wagmi) Quickstart (Recommended)
❯ MetaMask <-> Web3Auth Quickstart
MetaMask <-> Dynamic Quickstart -
Select your preferred blockchain tooling if your project requires it:
? Would you like to include blockchain tooling? (Use arrow keys)
  HardHat
  Foundry
❯ None -
Select your preferred package manager. We recommend pnpm for speed and efficiency:
? Please select the package manager you want to use:
  Yarn
  NPM
❯ pnpm -
Select to enter your Web3Auth Client ID in the command prompt:
Note: The selected template requires a Web3Auth client ID.
You can obtain one from https://dashboard.web3auth.io and later
add NEXT_PUBLIC_WEB3AUTH_CLIENT_ID=<your_client_id> to a .env file in your site's directory. -
The CLI will take a few minutes to set up your project. Once complete, you can run the project using the following command in
cd <project-name>:pnpm run dev
You've successfully set up MetaMask SDK and Web3Auth SDK. See how to use the Web3Auth SDK.
Set up using a template
-
Download the MetaMask SDK + Web3Auth SDK template:
git clone https://github.com/MetaMask/metamask-web3auth -
Navigate into the repository:
cd metamask-web3auth -
Install dependencies:
pnpm install -
Create a
.env.localfile:touch .env.local -
In
.env.local, add aNEXT_PUBLIC_WEB3AUTH_CLIENT_IDenvironment variable, replacing<YOUR-CLIENT-ID>with your Web3Auth Client ID:.env.localNEXT_PUBLIC_WEB3AUTH_CLIENT_ID=<YOUR-CLIENT-ID> -
Run the project:
pnpm dev
You've successfully set up MetaMask SDK and Web3Auth SDK. See how to use the Web3Auth SDK.
Set up manually
1. Install dependencies
Install the SDK and the required dependencies to an existing project:
pnpm i viem wagmi @tanstack/react-query @web3auth/modal@10
2. Configure providers
Set up your providers in app/providers.tsx:
"use client";

import { QueryClient, QueryClientProvider } from "@tanstack/react-query";
import { type ReactNode, useState } from "react";
import { Web3AuthProvider } from "@web3auth/modal/react";
import { WagmiProvider } from "@web3auth/modal/react/wagmi";

type Props = {
  children: ReactNode;
};

export function Providers({ children }: Props) {
  const [queryClient] = useState(() => new QueryClient());

  return (
    <Web3AuthProvider
      config={{
        web3AuthOptions: {
          clientId: process.env.NEXT_PUBLIC_WEB3AUTH_CLIENT_ID!,
          web3AuthNetwork: "sapphire_devnet"
        },
      }}
    >
      <QueryClientProvider client={queryClient}>
        <WagmiProvider>
          <div className="container">{children}</div>
        </WagmiProvider>
      </QueryClientProvider>
    </Web3AuthProvider>
  );
}
3. Set up environment variables
Create a .env.local file.
In .env.local, add a NEXT_PUBLIC_WEB3AUTH_CLIENT_ID environment variable, replacing <YOUR-CLIENT-ID> with your Web3Auth Client ID:
NEXT_PUBLIC_WEB3AUTH_CLIENT_ID=<YOUR-CLIENT-ID>
You can now test your dapp by running pnpm run dev.
Usage
Connect or sign in
Use the useWeb3AuthConnect hook to enable users to connect or sign in to their wallet:
"use client";

import { useWeb3AuthConnect } from "@web3auth/modal/react";

export const Navbar = () => {
  const { connect } = useWeb3AuthConnect();

  return (
    <nav>
      <button onClick={() => connect()}>Connect or Sign in</button>;
    </nav>
  );
};
Check wallet status
Use the useAccount hook from Wagmi to check the wallet status:
"use client";

import { useAccount } from "wagmi";

export const Hero = () => {
  const { address, isConnected } = useAccount();

  return (
    <div>
      {isConnected ? <p>Connected: {address}</p> : <p>Not connected</p>}
    </div>
  );
};
Send a transaction
Use the useSendTransaction hook from Wagmi to send a transaction:
"use client";

import { useSendTransaction } from "wagmi";
import { parseEther } from "viem";

export const SendTransaction = () => {
  const { sendTransaction } = useSendTransaction();

  return (
    <button
      onClick={() =>
        sendTransaction({
          to: "0xd2135CfB216b74109775236E36d4b433F1DF507B",
          value: parseEther("0.001"),
        })
      }
    >
      Send transaction
    </button>
  );
};